|
This article describes how to install and configure Microsoft SQL Server 2008 R2 for use with Project Server 2010. Project Server 2010 requires one of the following versions of SQL Server:
• Microsoft SQL Server 2008 with Service Pack 1 (SP1) and Cumulative Update 2
• Microsoft SQL Server 2008 R2
• Microsoft SQL Server 2005 SP3 with Cumulative update package 3 for SQL Server 2005 Service Pack 3
This article describes installing and configuring SQL Server 2008 R2.
Configure a local administrator
It is recommended to install SQL Server 2008 R2 while logged on with the SQL Server administrator domain account (SDRED\Developer). Prior to doing this, you must add this account to the local Administrators group on the virtual machine.
Log on to the virtual machine with the domain administrator account (SDRED\Administrator) and perform the following procedure to add the SDRED\Developer account to the local Administrators group.
To add a local administrator
1.Log on to the virtual machine where you want to install SQL Server as a domain administrator.
2.Click Start, click Administrative tools, and then click Computer Management.
3.Expand Local Users and Groups, and then click Groups.
4.In the right pane, right-click Administrators, and then click Properties.
5.Click Add.
6.Type the name of the SQL Server administrator account (SDRED\Developer), and then click OK.
7.Click OK.
8.Log off the virtual machine.
To perform the remaining procedures in this article, log on to virtual machine with the SDRED\Developer account.
Install SQL Server 2008
Perform the following procedure to install SQL Server 2008 R2 on the virtual machine.
To install SQL Server 2008
1.Attach the SQL Server 2008 R2 DVD or image file to the virtual machine DVD drive.
2.Log on to the virtual machine where you want to install SQL Server as the SQL Server administrator.
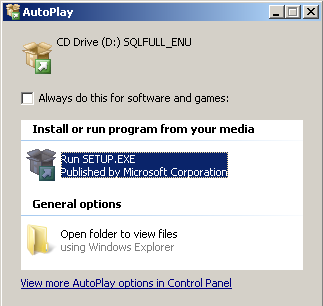
3.On the SQL Server DVD, double-click setup.exe
4. The first step is to install SQL Server 2008 R2. SQL Server 2008 R2 requires the NET Framework version 3.5. If the .NET Framework 3.5 is currently not installed, you must install it or enable it as a feature in Windows Server 2008 before you continue.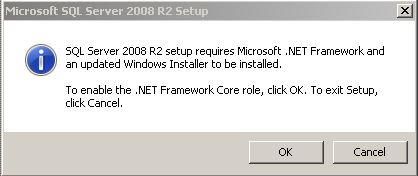
5.If a compatibility warning is displayed, click Run program.
6. In the SQL Server Installation Center, in the left pane, click Installation.
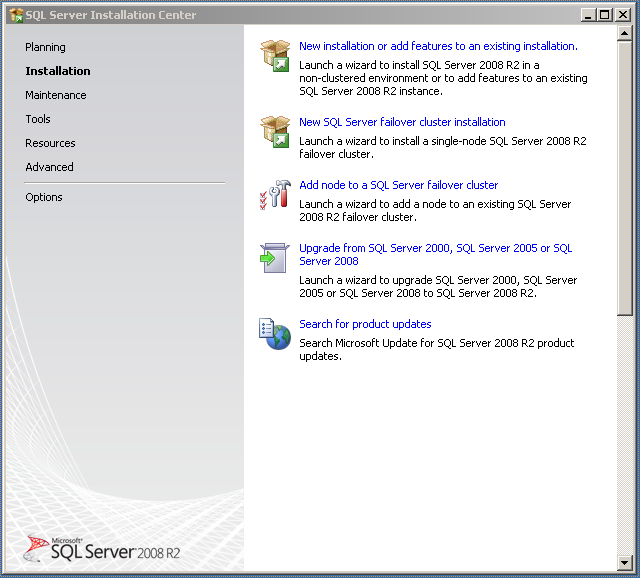
7.In the right pane, click New SQL Server stand-alone installation or add features to an existing installation.
8.If a compatibility warning is displayed, click Run program.
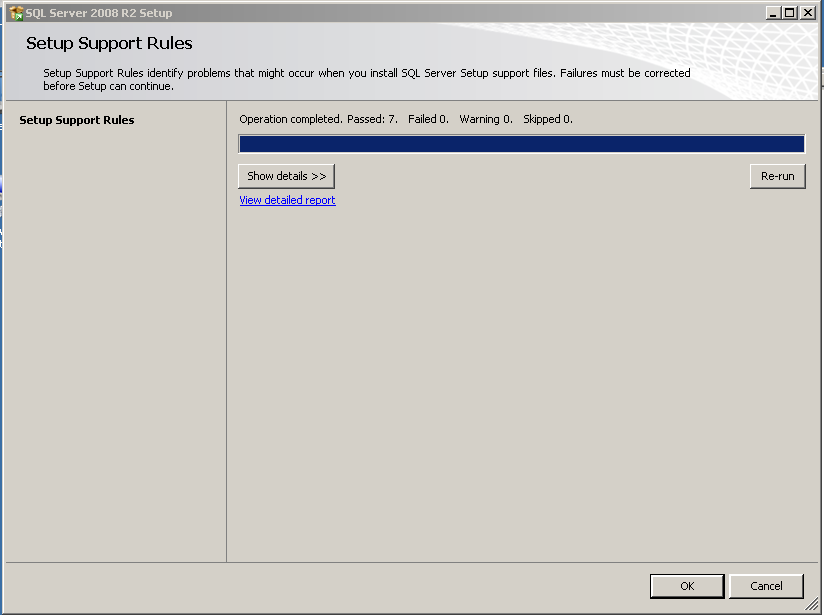
9.On the Setup Support Rules page, click OK.
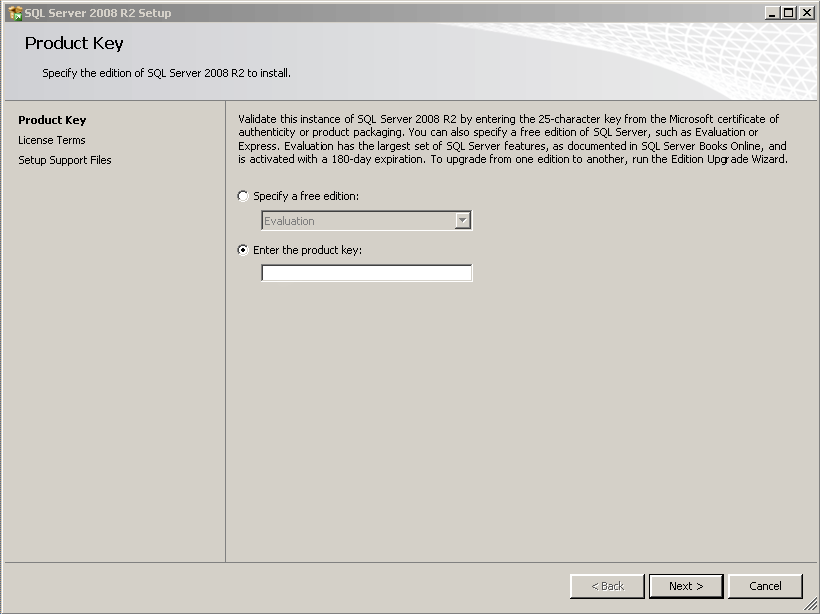
10. On the Product Key page, type your product key, and then click Next.
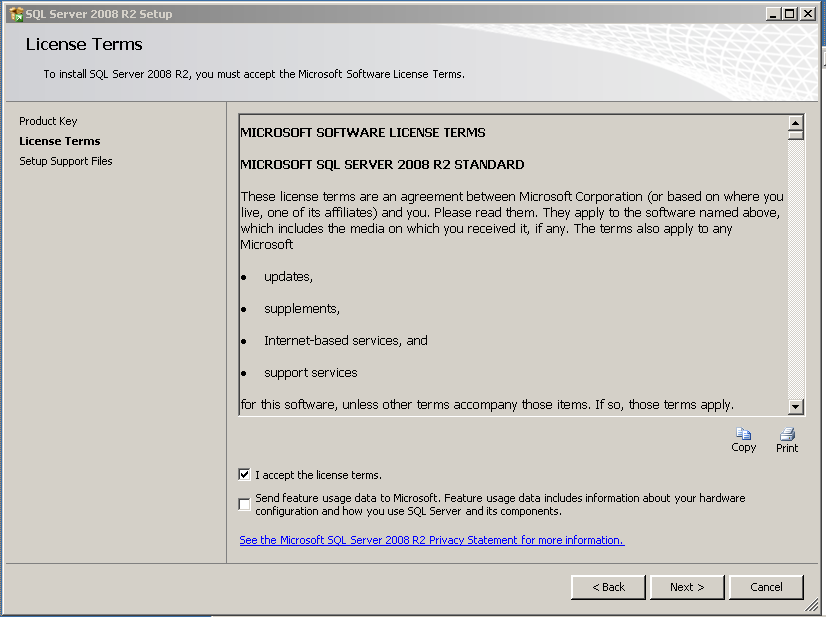
11. On the License Terms page, review the license agreement and, if you agree, select the I accept the license terms check box, and then click Next.
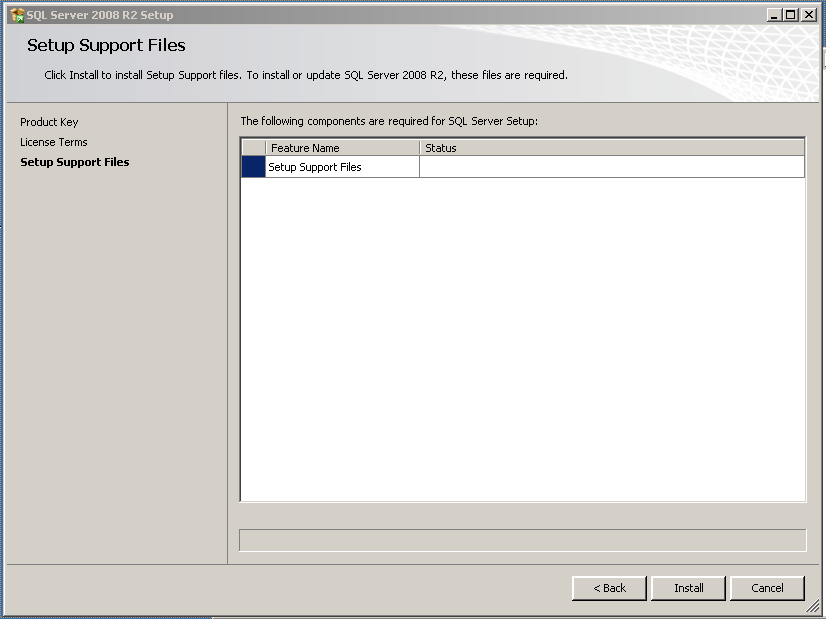
12. On the Setup Support Files page, click Install.
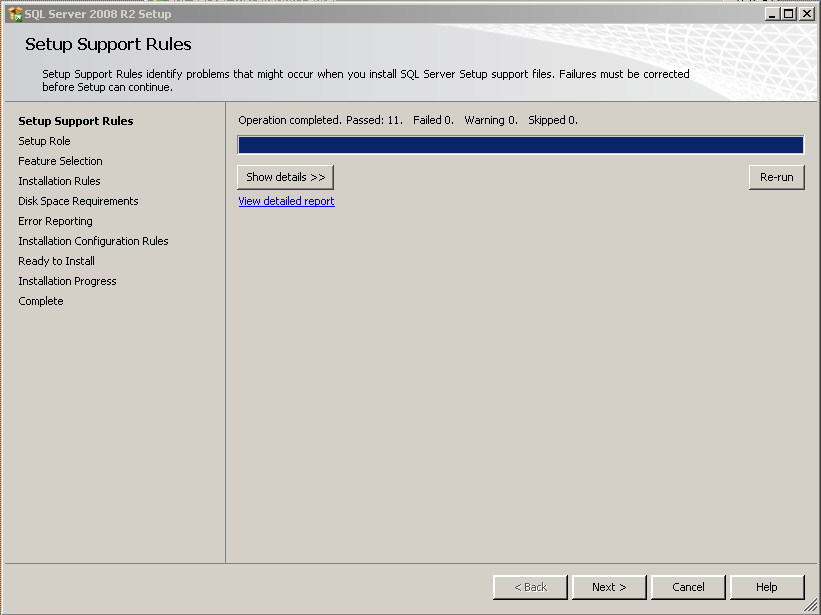
13. On the Setup Support Rules page, click Next.
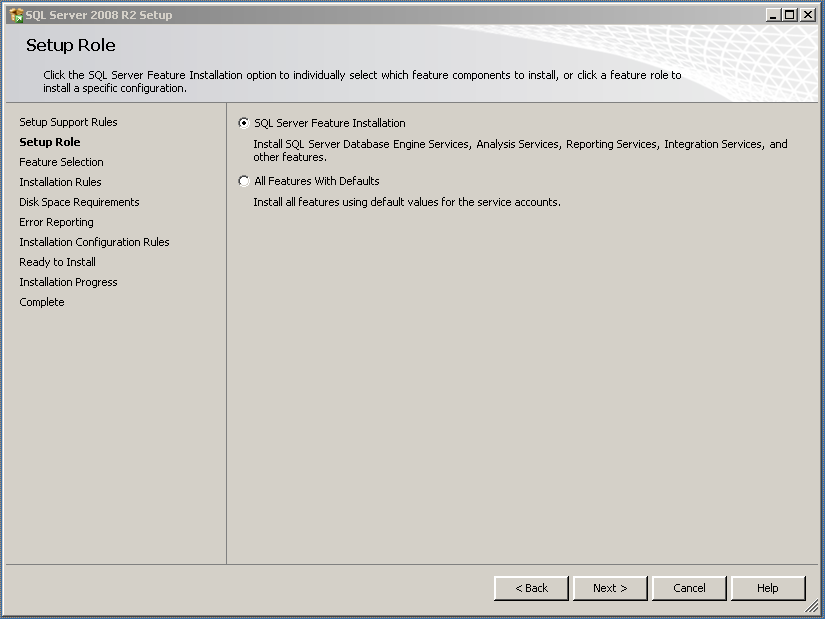
14. On the Setup Role click on the SQL Server Feature Installation.
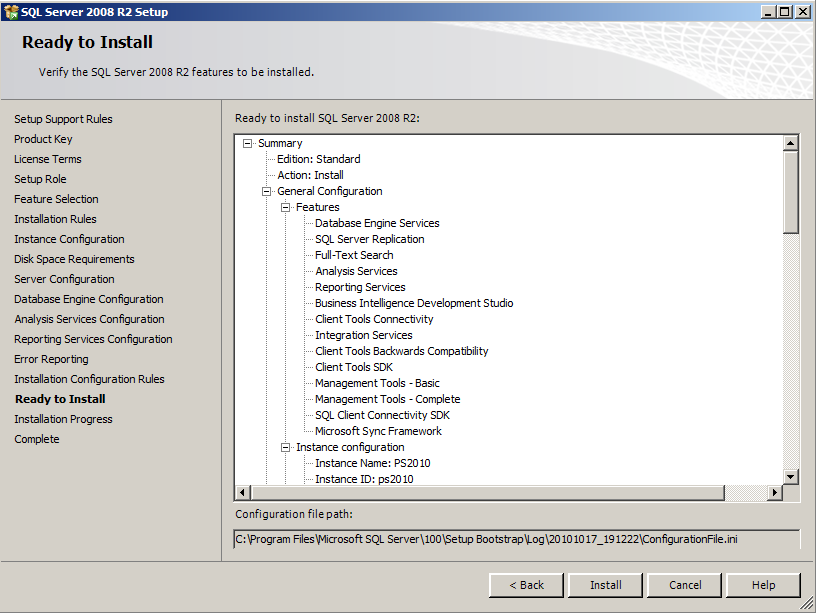
15. On the Feature Selection page, select the following check boxes:
• Database Engine Services
• Analysis Services
• Reporting Services
• Management Tools - Complete
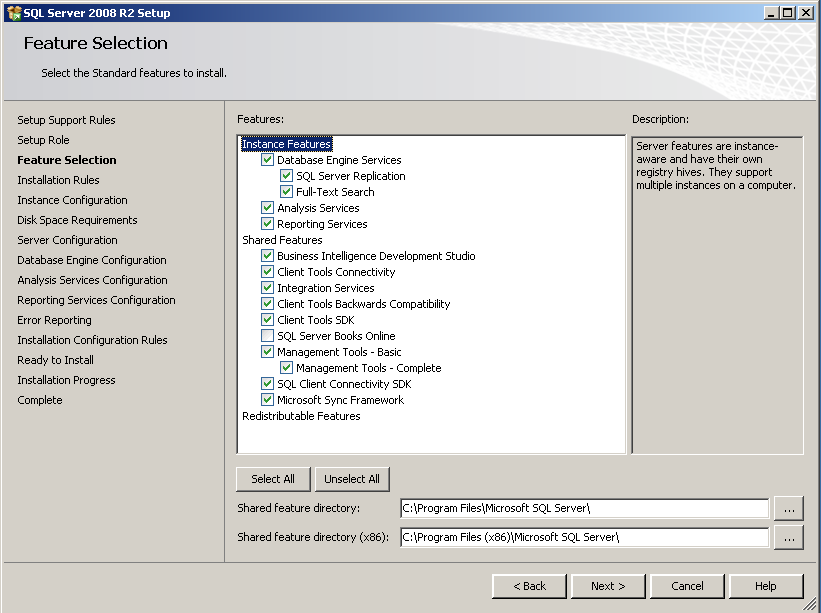
16. Click Next.
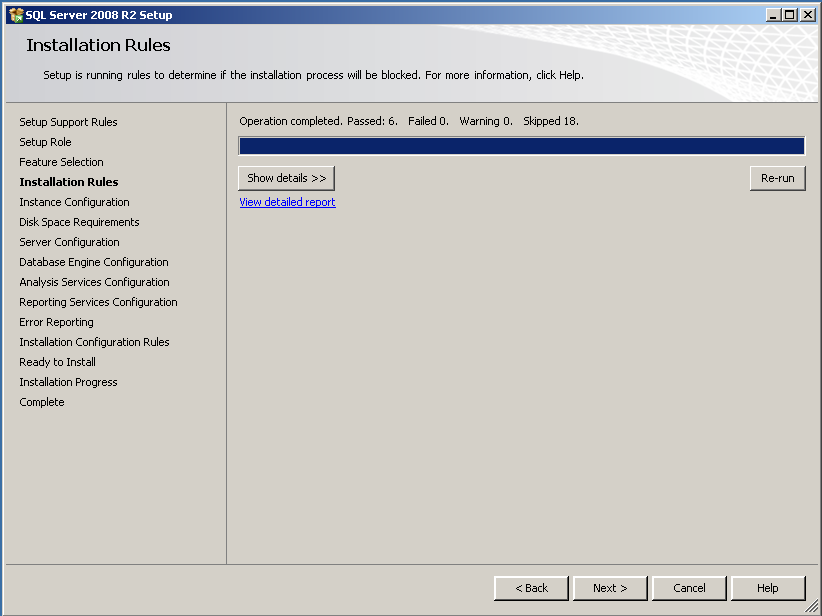
17. On the Installation Rules Click Next.
18. On the Instance Configuration page, leave the Default instance option selected or name your own instance, and then click Next. (Because this development VM will be supporting various production environments I prefer to have an instance for each production environment I’ll be supporting)

19. On the Disk Space Requirements page, click Next.

20. On the Database Engine Configuration page, select the Mixed Mode option, and type and confirm a password for the built-in SQL Server administrator account.
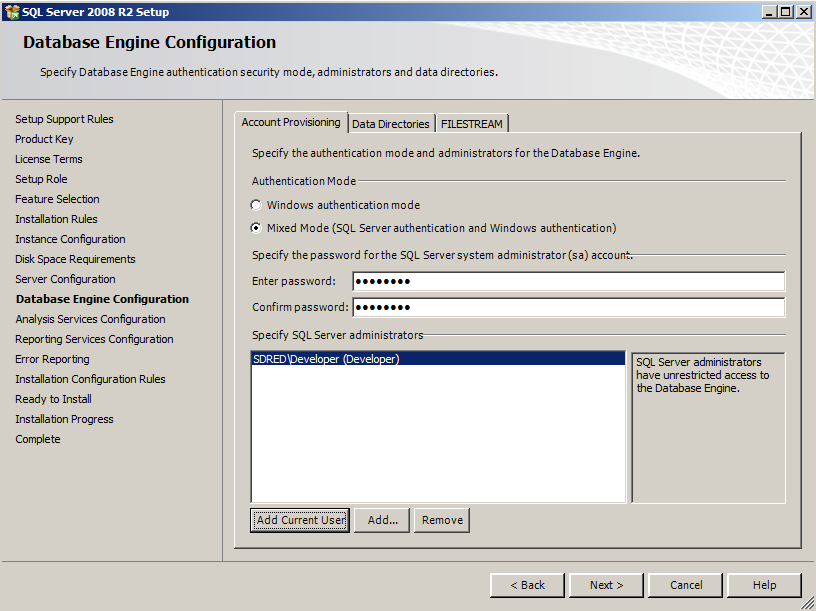
21. Click Add Current User to add the current user account as a SQL Server administrator.
22. On the Data Directories Tab, enter the database directories or leave the defaults
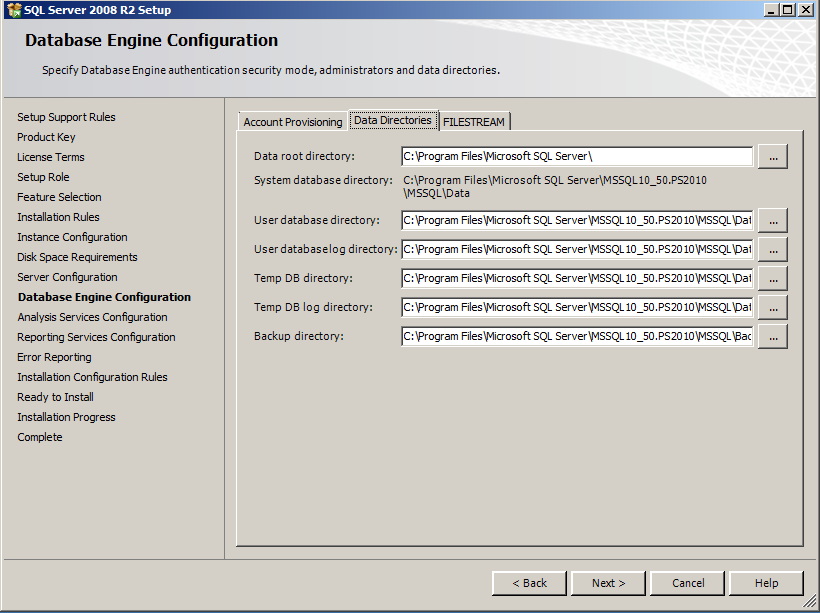
23. Click Next.
24. On the Analysis Services Configuration page, click Add Current User to add the current user account as an Analysis Services administrator.
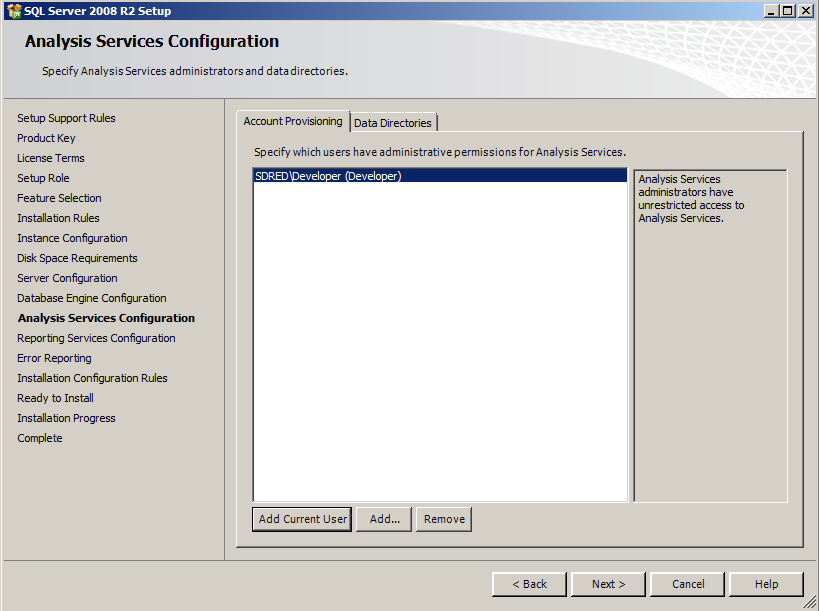
25. Click Next.
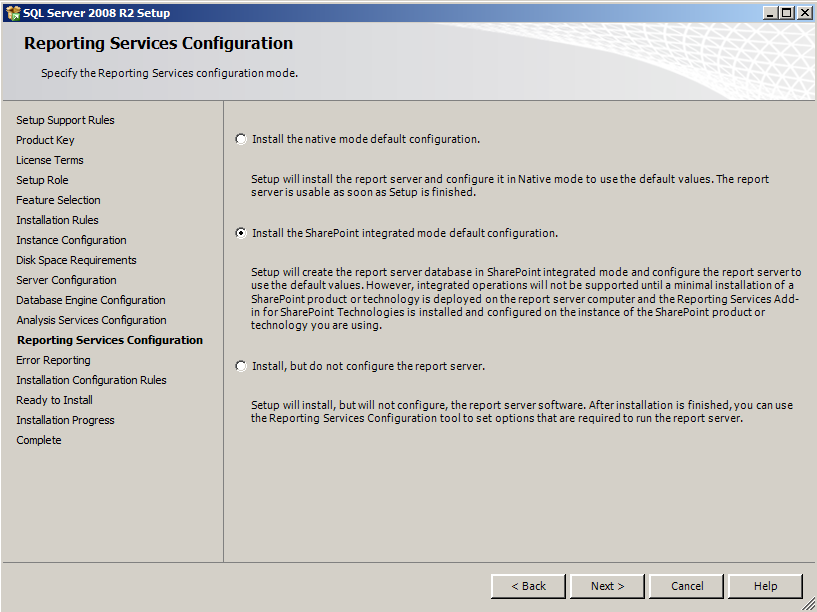
26. On the Reporting Services Configuration page, select the Install the SharePoint integrated mode default configuration option, and then click Next.
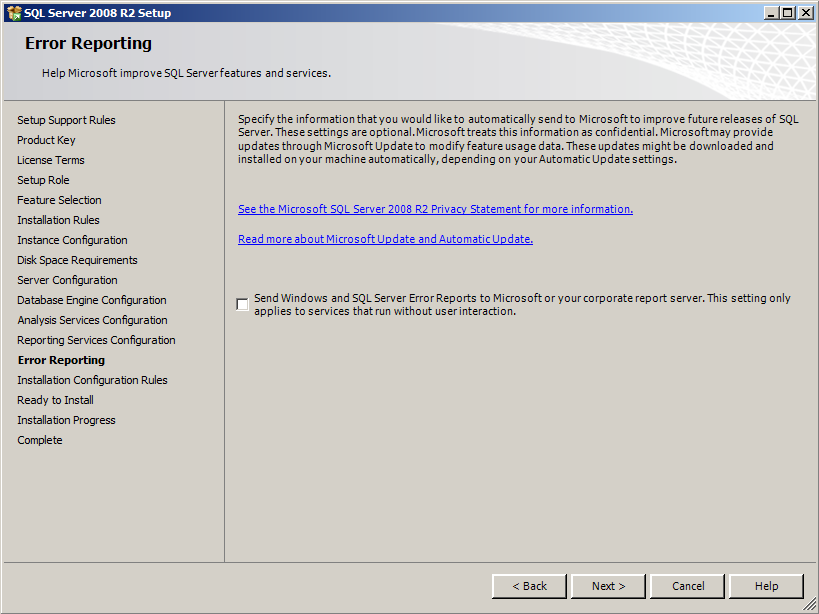
27. On the Error and Usage Reporting page, leave the default values and then click Next.
28. On the Installation Rules page, click Next.
29. On the Ready to Install page, click Install.
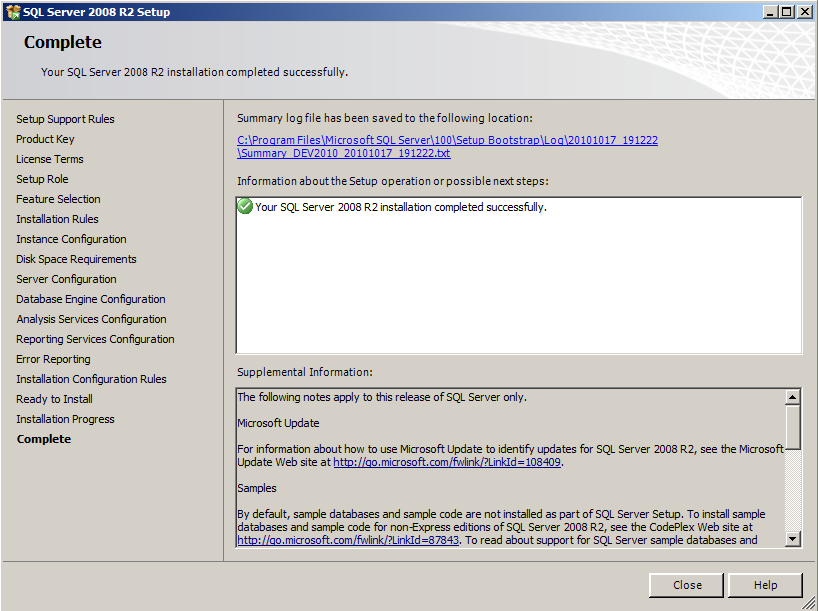
30. When the setup process is complete, click Next.
On the Complete page, click Close.
|